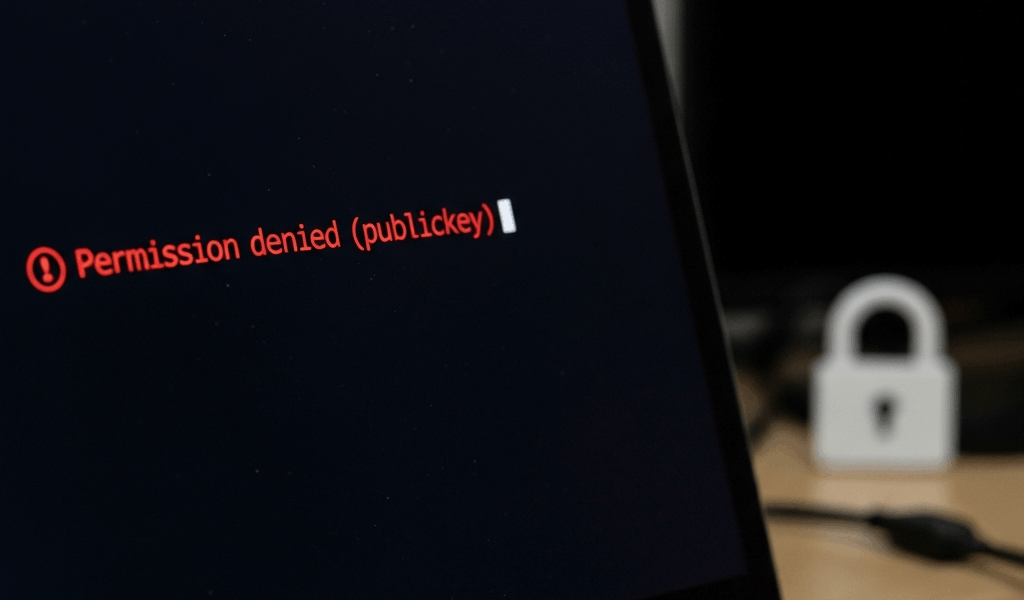
What Causes SSH Permission Denied on EC2
I’ve spent the better part of six months managing AWS infrastructure, and “Permission denied (publickey)” is the error message I see most often in Slack threads from developers hitting EC2 for the first time. The good news? It’s almost always one of three things, and I can help you identify which one in about five minutes.
SSH permission issues have gotten complicated with all the configuration options flying around. But in essence, they’re straightforward — your .pem key file has permissions that are too open (EC2 literally rejects it), your security group isn’t allowing inbound traffic on port 22, or your instance either lacks a public IP address or has no route to reach one from your network. Each produces slightly different error messages, and knowing which error you’re seeing changes everything about how you fix it.
If you see Permission denied (publickey) with no other detail, that’s usually the key permissions problem. AWS is essentially saying “I don’t trust this key file because other people on your system could read it.” If SSH times out entirely and never complains about permissions, you’re looking at a security group issue — the instance is unreachable at the network layer. Finally, if you get an error like ssh: Could not resolve hostname or the connection hangs forever, your instance probably doesn’t have a public IP assigned, or your route table is misconfigured.
Probably should have opened with this section, honestly. Grab your instance ID and public IP from the EC2 console right now. You’ll need both to work through these fixes systematically.
Fix Your .PEM Key File Permissions
This fix took me thirty seconds the first time I learned it, and I’ve applied it hundreds of times since. The issue is dead simple — EC2 checks whether your .pem file is readable by anyone except you. If it is, AWS assumes the key has been compromised and refuses to accept it as legitimate.
Here’s exactly what to do. Open your terminal and navigate to where your .pem file lives. In my case, I keep mine in a ~/.ssh folder, but yours might be in Downloads or your home directory. Run this command:
ls -la your-key.pem
You’ll see output like this:
-rw-r--r-- 1 user staff 1674 Nov 15 10:23 your-key.pem
See those letters after the dash? That’s the permission string. The problem is rw-r--r-- — it means the group and others can read your key. EC2 will reject it. You need to change permissions to 400, which means only you (the owner) can read it, and nobody can write or execute it. Run this:
chmod 400 your-key.pem
Run ls -la again to confirm:
-r-------- 1 user staff 1674 Nov 15 10:23 your-key.pem
Perfect. Now it’s locked down. This is the most common fix by far — I’d bet 60% of “permission denied” errors vanish after this single command.
If you’re on Windows and using PuTTY instead of the native SSH client, you can’t use .pem files directly — you need to convert your key using PuTTYgen first. Import the .pem file, save it as a .ppk file, then configure PuTTY to use that .ppk file in Connection → SSH → Auth. This conversion step trips up Windows users constantly, so don’t make my mistake.
Verify EC2 Security Group Rules Allow SSH
Your key permissions are fixed, but SSH still times out? Frustrated by lingering connection issues, most developers overlook the security group sitting in front of the instance. Think of it as a firewall. AWS instances have no inbound rules by default — nothing gets through unless you explicitly allow it.
Navigate to the EC2 console, find your instance, and click on its security group. You should see an “Inbound rules” section. Look for a rule that allows TCP traffic on port 22 (that’s the SSH port). If it’s not there, you need to add it.
Click “Edit inbound rules” and add a new rule with these settings:
- Type: SSH
- Protocol: TCP
- Port range: 22
- Source: 0.0.0.0/0 (if you want to SSH from anywhere) or a specific IP like 203.45.67.89/32 (if you want to lock it down)
If you prefer the CLI, this command does the same thing:
aws ec2 authorize-security-group-ingress --group-id sg-12345678 --protocol tcp --port 22 --cidr 0.0.0.0/0
Replace sg-12345678 with your actual security group ID (you can find it in the console or by running aws ec2 describe-security-groups). The --cidr 0.0.0.0/0 means “anyone on the internet,” which is fine for testing but you should lock it down to your IP once things are working.
After adding the rule, it takes effect immediately. Try your SSH connection again.
Confirm Instance Has Public IP and Correct Route
Here’s the invisible problem that drove me crazy when I first started with EC2 — your instance is running perfectly, your key is right, your security group is right, but SSH still hangs. You’ll notice the connection just sits there. It doesn’t fail quickly, it just freezes.
This usually means your instance doesn’t have a public IP address, or it’s in a subnet with no route to the internet. Open your EC2 console, click on your instance, and look at the details panel. Under “Public IPv4 address,” you should see an IP like 54.123.45.67. If it says “None” or the field is missing, that’s your problem.
To assign a public IP, you have two options. If your instance is already running, click “Actions” → “Instance settings” → “Modify instance attribute” and enable “Associate public IP address.” Or, if you want future instances to get a public IP automatically, edit your subnet settings and enable “Auto-assign Public IPv4 address.”
For existing instances without a public IP, you could also assign an Elastic IP address instead — that’s a static public IP that stays with the instance even after reboots. Run:
aws ec2 allocate-address --domain vpc
Then associate it:
aws ec2 associate-address --instance-id i-1234567890abcdef0 --allocation-id eipalloc-12345678
The second invisible problem is route table misconfiguration, but this is rarer and only happens if you’ve customized your VPC. If your instance has a public IP but you’re still timing out, check whether your subnet’s route table has a route to 0.0.0.0/0 pointing to an Internet Gateway. It should. If you’re not sure how to check this, it’s a sign you might need to talk to whoever set up your VPC.
Test Connection After Each Fix
Once you’ve applied a fix, test immediately. This is how you know whether you fixed the actual problem or whether you need to move on to the next one. The command format is always the same:
ssh -i /path/to/your-key.pem [email protected]
Replace the path with wherever your .pem file actually lives, and replace the IP with your instance’s public IPv4 address. For Amazon Linux 2 or Ubuntu instances, the default user is usually ec2-user or ubuntu respectively. For other AMIs it might be different — check the documentation if you’re not sure.
If it works, you’ll see output like this:
The authenticity of host '54.123.45.67' can't be established.
RSA key fingerprint is SHA256:abc123...
Are you sure you want to continue connecting (yes/no)?
Type yes and you’re in. You’ve won.
If it still fails, note the exact error message. “Permission denied (publickey)” means your key fix didn’t work — double-check the permissions with ls -la again. “Connection timed out” or “ssh: connect to host… port 22: Connection refused” means your security group or public IP is still wrong. Try the next fix in the list.
I made the mistake once of assuming a timeout meant my key was bad, so I regenerated it entirely. Waste of fifteen minutes. The message tells you what the problem actually is — read it carefully, honestly.




Stay in the loop
Get the latest team aws updates delivered to your inbox.